Your cart is currently empty!


Garden Bed DIY Kit (8′ x 4′)
$197.00
The Garden Bed Kit is a rewarding and easy project you can put together and begin planting within hours. We use them ourselves and they have proven to be extremely beneficial to our vegetable yields and add a rustic touch to the yard. Deep garden beds like these provide a degree of drought-tolerance for all plants and ensure that roots are able to grow deep into the enriched soil you provide. Additionally, none of the lumber is treated with any chemicals. This allows for the possibility of beneficial bacteria and mycelium (mushroom) growth, forming a symbiotic and mutually beneficial bond with plants.
This kit is HARDWARE-free! No metal. No screws. This makes construction super easy and ensures that you’ll follow in the ecologically-friendly philosophy of “LEAVE NO TRACE.” Everything would decompose naturally and provide the worms 🪱 and animals 🐿️🦔 with a lovely heap of a playground.
In the video, you’ll see Jimmy drilling some holes. This was our prototype. Your kit DOES NOT REQUIRE DRILLING. We do that for you.
What’s in the box? 📦🥳
- six 8-foot boards for the long sides
- six 4-foot boards for the short sides
- ten posts that can be driven into the ground
- 60 wooden pegs
- a random assortment of thin slats to plug any gaps
Assembly ⚒️
If the location of the garden bed is in a location with existing vegetation, it might be helpful to use a shovel to scrape it away since some plants are extremely hardy and could grow up or around the garden bed.
Building it is easy! Everything comes with pre-drilled peg holes. All you need is a heavy hammer or metal mallet.
- Lay 2 long boards and 2 short boards on the ground in a rectangle shape.
- Tip one of the long boards so it rests on the long end with the flattest side facing out.
- Bang a post into the ground in the center of the board where it’s marked until the drilled hole matches the holes in the board.
- Bang 2 pegs into the holes, fastening the board to the post. Wham-o! It’s standing!
- Repeat steps 4 and 5 for the other 2 post locations on the same long board.
- Follow the same procedure for the 2 short sides.
- Follow the same procedure for the remaining long side.
All that’s left is fastening the remaining long and short boards to the sides. We built this box on-site before you got it, so we know that everything lines up and you’ll have a successful building process. If something doesn’t seem right, give us a call!
The lumber isn’t treated? What about rot?
It’s true, the wood will naturally and eventually break down. That’s why we use planks of wood for the sides that are anywhere from 2 to 3 inches thick. We have the same garden beds installed and producing on our property. They were built and filled 3 years ago and we see no deterioration that would compromise the structure or function of the bed.
However, we also know that if a board ever gave out, the solution is easy. Just get another board, make some wooden pegs (cut sticks also work), and replace it.
Additional Tips
We started each bed by filling it with twigs, sticks, logs, and leaf mulch to cover 30-50% of the height! Why? This bottom layer provides:
- natural aeration;
- moisture retention in drought;
- drainage in heavy rainfall;
- a playground for the soil biome to become rich in beneficial bacteria, fungi, and mycellium;
- slow-release plant food;
- buffer (so we didn’t have to add so much heavy soil.
We top off the beds after harvest with more composted organic material, leaf mulch, and sticks. By planting season the following year, the bed is renewed and ready to go!
Related products
-
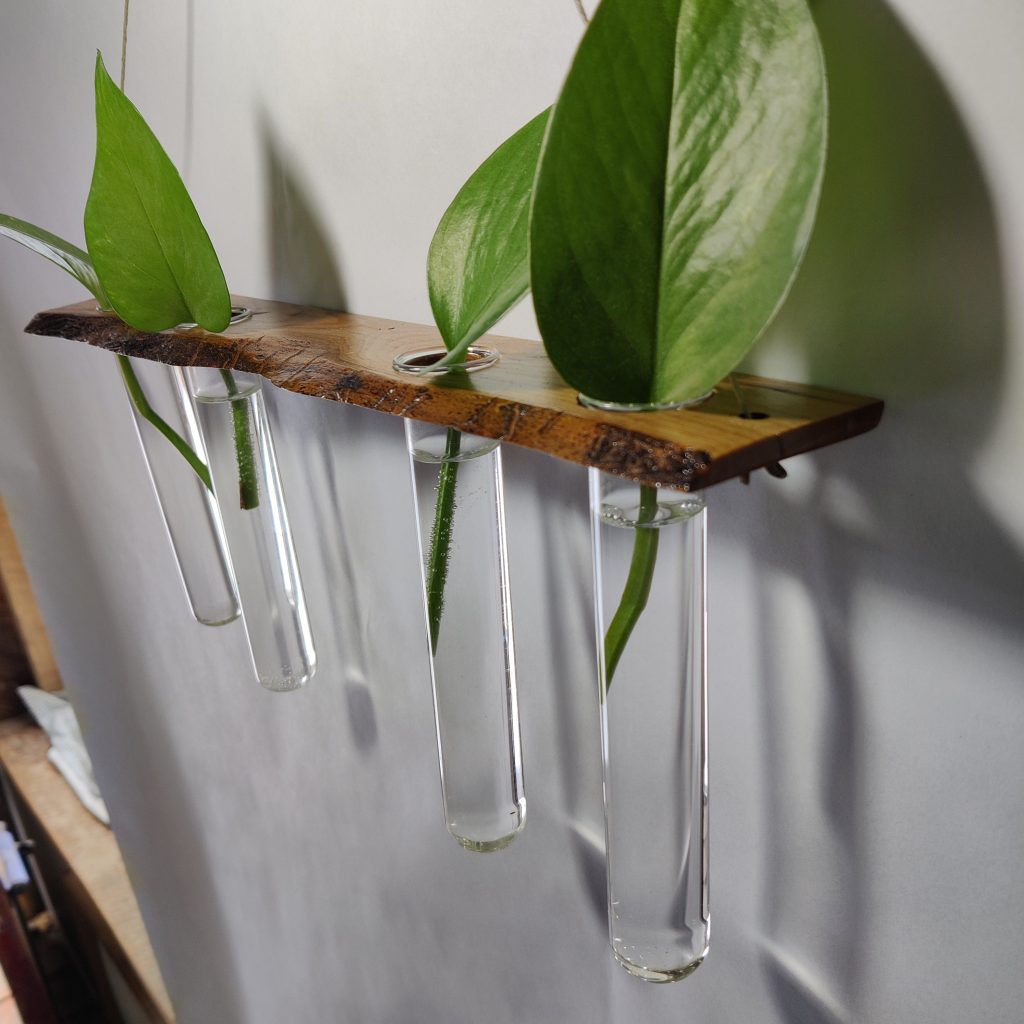
Plant Wall Hanger ⊹ LIVE-EDGE Cherry Wood II
Original price was: $47.00.$41.93Current price is: $41.93. -
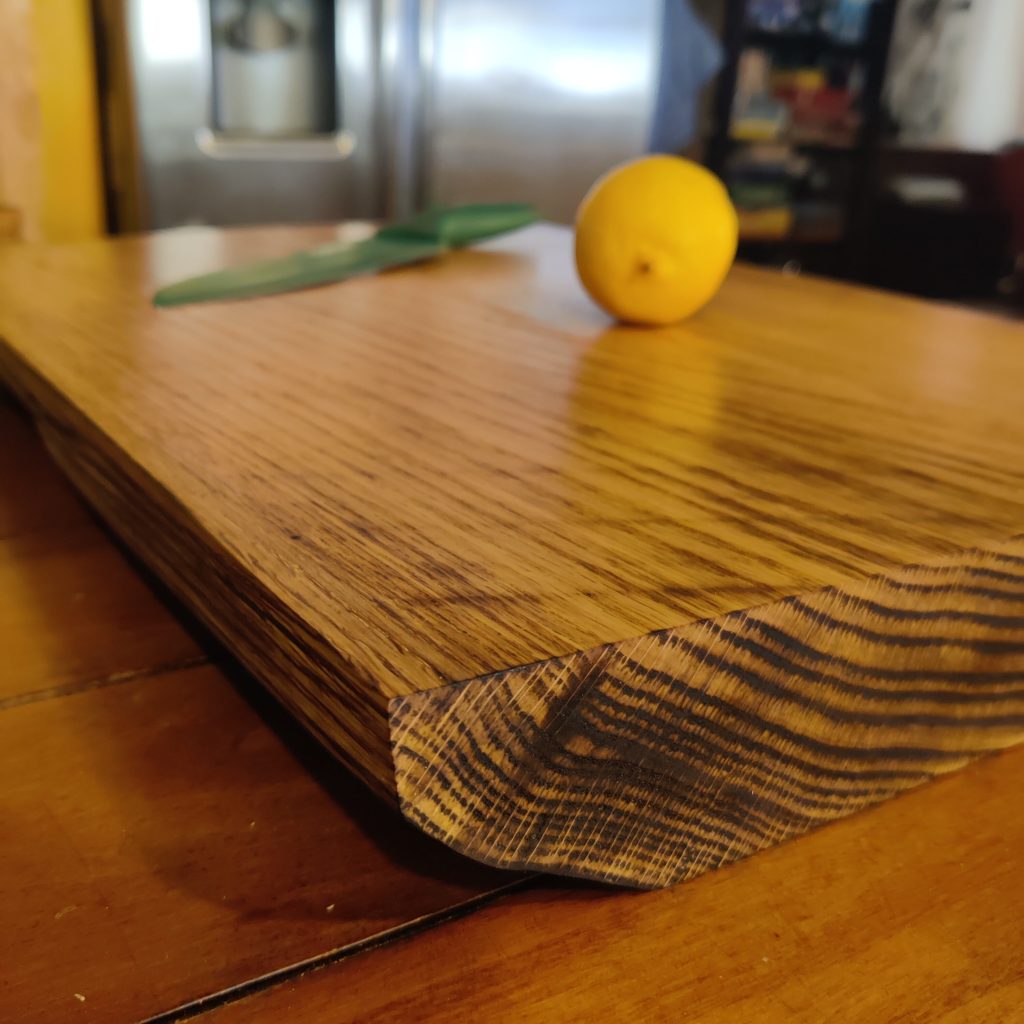
Solid Oak Charcuterie / Cutting Board
Original price was: $279.00.$189.00Current price is: $189.00. -

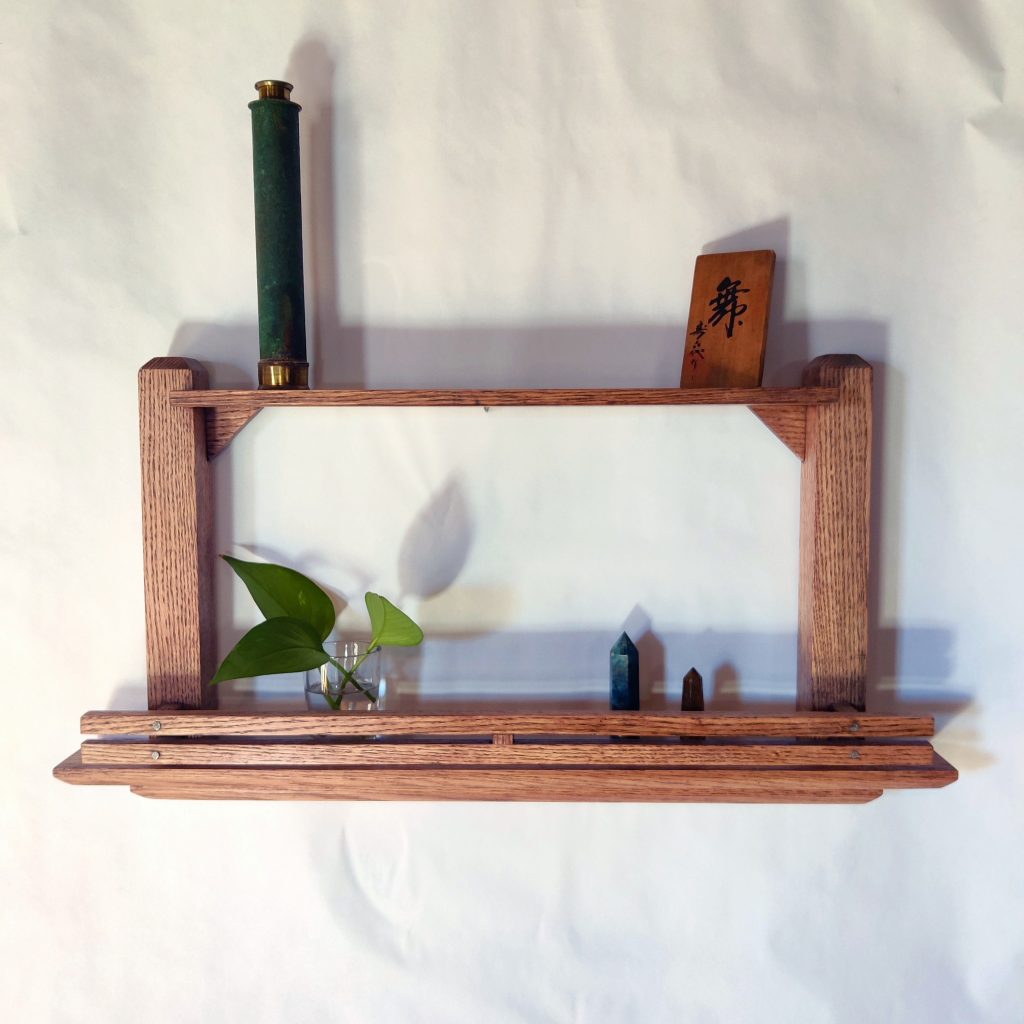
Bigger, Burlier Oak Display Rack for Objects and Air Plants
$85.00 -

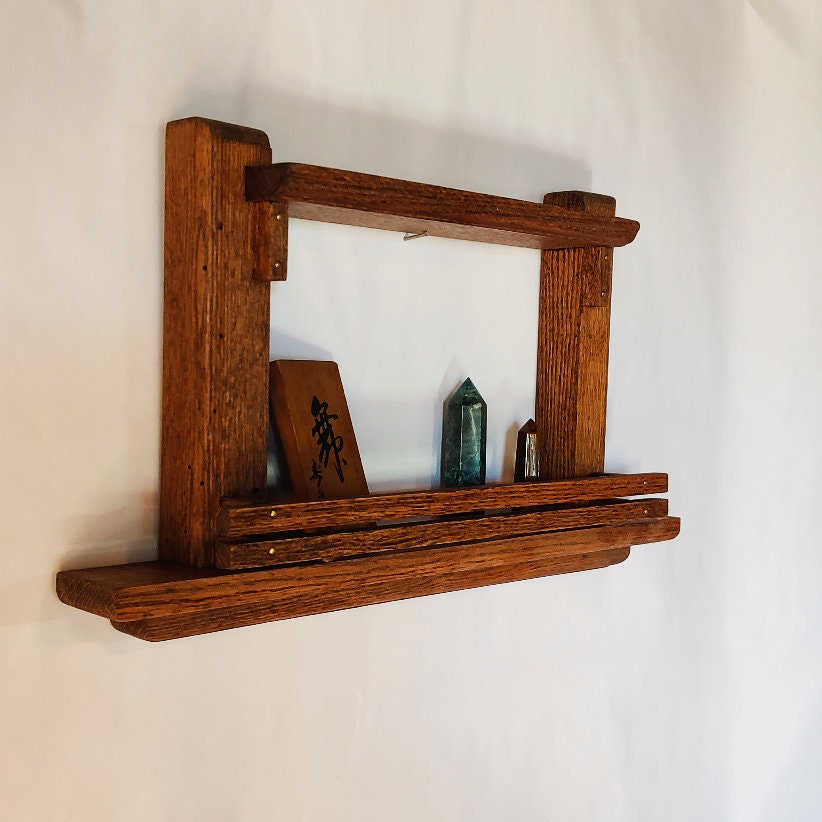
Burly Oak Display Rack
$63.00
Reviews
There are no reviews yet.